- Other guides
- Beginner's guide
- JOSM - Detailed Editing
- Coordination
- Mapping with a SmartPhone, GPS or Paper
- OSM Data
- OSM Data Overview
- File Formats
- Getting OSM Data
- Using Geofabrik and HOT Export
- Using OSM Data in QGIS
- Setting up PostgreSQL
- osm2pgsql
- Manipulating Data with Osmosis
- HOT Tips - Getting started for new mappers - iD editor
- Other Resources
|
|
Using OSM Data in QGIS
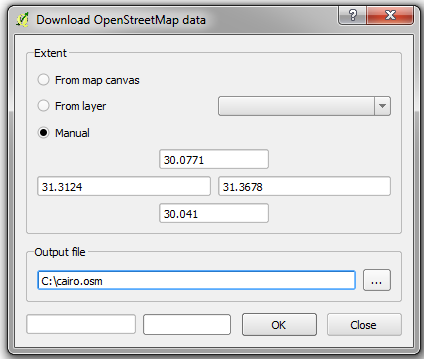
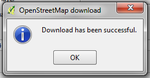
QGIS (formerly Quantum GIS) is a full-featured, open-source, cross-platform Geographic Information System. With QGIS you can access up-to-date OSM data whenever you want, select the tags you want to include, and easily export it into an easy-to-use SQLite database or Shapefile. In this chapter we’ll walk through the steps necessary to do this. We assume that you’ve already downloaded and installed QGIS 2.x. If you haven’t already done this, you can download it from http://www.qgis.org/en/site/forusers/download.html. To get our customized, up-to-date OSM layers loaded into QGIS, we will first get the most recent OSM data in raw .osm format. Then, we will convert this data into a SQLite database, which is a lightweight database system stored in one file on your system. Lastly, we will create a layer (or multiple layers) that includes only the feature types and tags we want to access. These layers can be used in QGIS as they are or saved in another format, such as a shapefile. Accessing OpenStreetMap DataThe first thing we will do is get some up-to-date OSM data. We can do this in numerous ways. Of course, requesting data from the OSM server, as we do in the JOSM editor, is limited so that we cannot pull out a very large amount of raw data at once - however, there are ways to access larger data sets, as described in the previous chapters on Getting OSM Data and Using Geofabrik and HOT Export. For this tutorial we will use the built-in download function in QGIS.
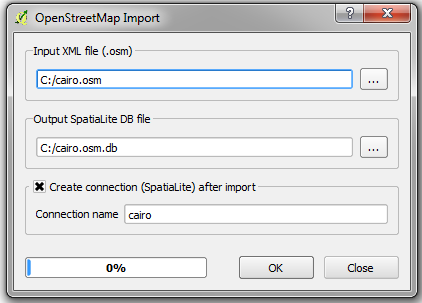
Importing Data into SQLiteNext we will need to import our raw .osm file into a SQLite Database file.
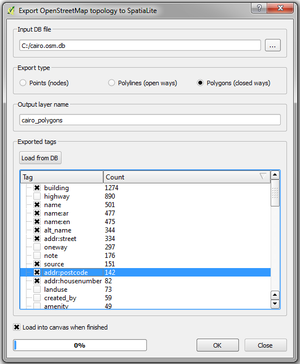
Creating LayersLastly, we will define layers that can be used in QGIS, customized according to our needs.
Edit the layer name if you like. Under “Exported tags” is where the magic happens. Here we can select which tags will be included in our output layer. This gives us flexibility over exactly which data we want to access.
When you are finished, click OK. Close the box. Your layer should be automatically added.
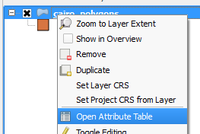
Right-click on the layer and click “Open Attribute Table.”
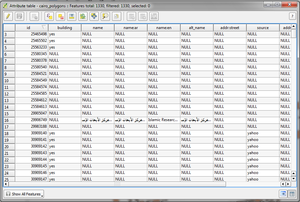
You can see here that we have a table which includes only the attributes we selected.
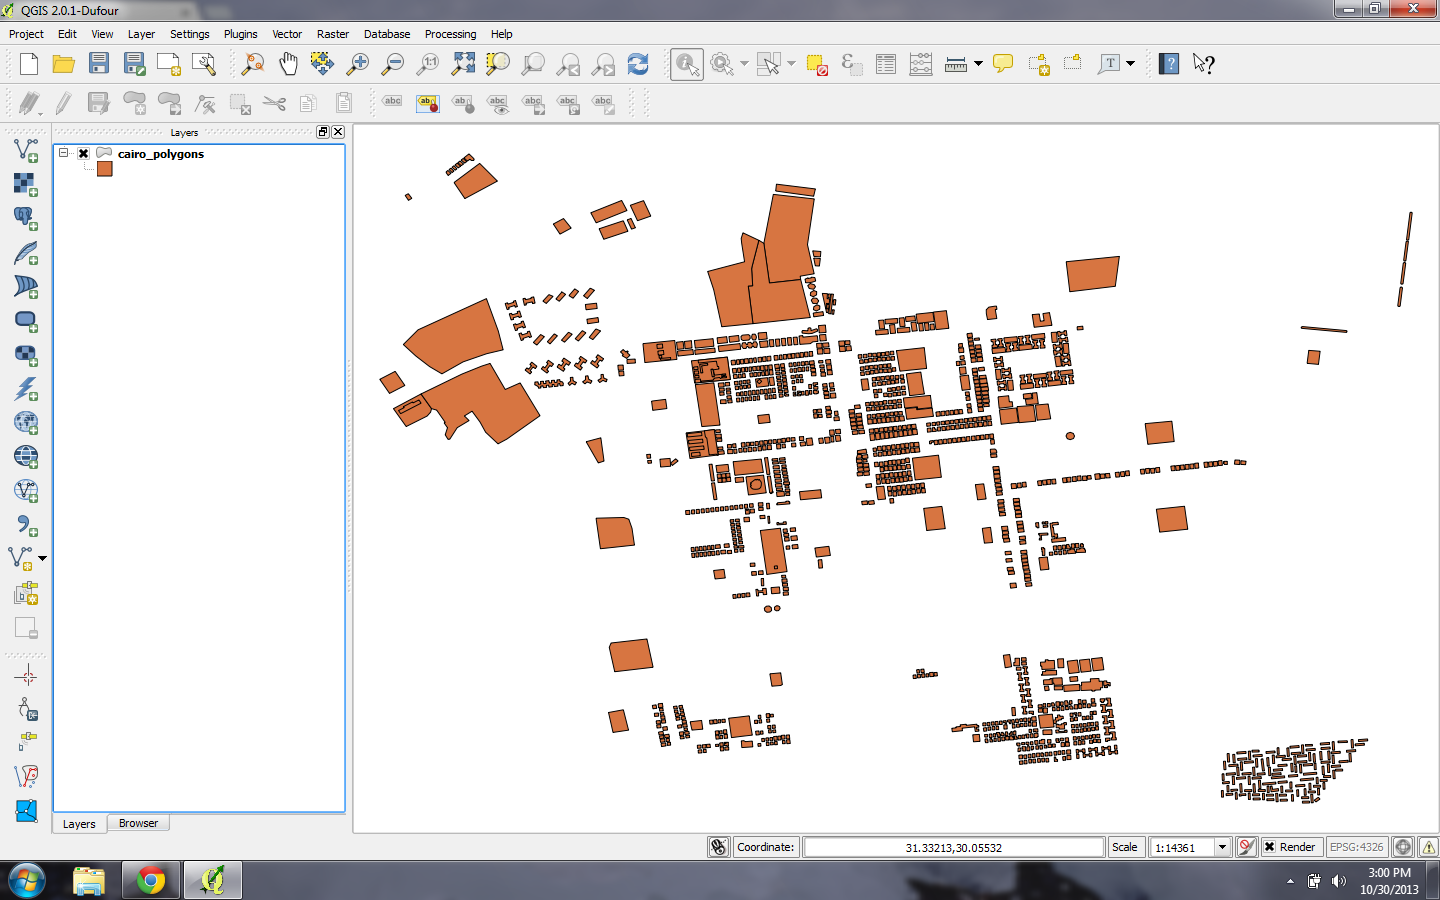
Note that we have not created a layer of only buildings. Instead, we have created a layer that includes all of the polygons from our original data, but only includes the tags which we selected. In order to filter this layer to show only buildings, we would need to execute a query that filters only polygons where building=yes. SummaryThis process makes it easy to get up-to-date OSM data and pull it into QGIS. Once you have layers like this in QGIS, it is possible to save them as shapefiles, execute filters and queries, and so forth. For more detail on these functions see the Help menu in QGIS.
Was this chapter helpful?
Let us know and help us improve the guides!
|