- Other guides
- Útmutató kezdőknek
- JOSM – részletes szerkesztés
- Koordináció
- Mapping with a SmartPhone, GPS or Paper
- OSM Data
- OSM Data Overview
- File Formats
- Getting OSM Data
- Using Geofabrik and HOT Export
- Using OSM Data in QGIS
- Setting up PostgreSQL
- osm2pgsql
- Manipulating Data with Osmosis
- HOT Tips - Getting started for new mappers - iD editor
|
|
Using Geofabrik and HOT Export
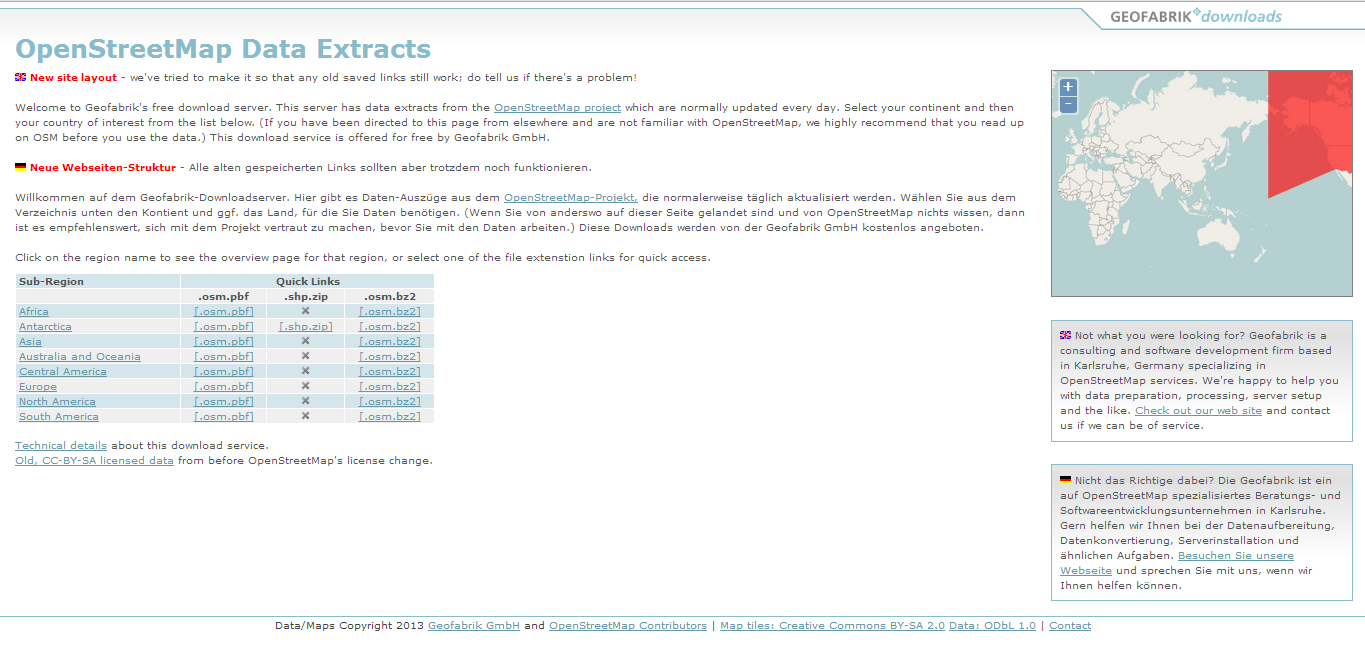
After learning how to add and edit data in OpenStreetMap (OSM), now maybe you would like to obtain the data as a backup or to process it using Geographic Information System software that is Open Source, such as Quantum GIS (www.qgis.org). Getting OSM Data on Geofabrik WebsiteThe OSM data can be obtained easily by downloading it from http://download.geofabrik.de/openstreetmap/
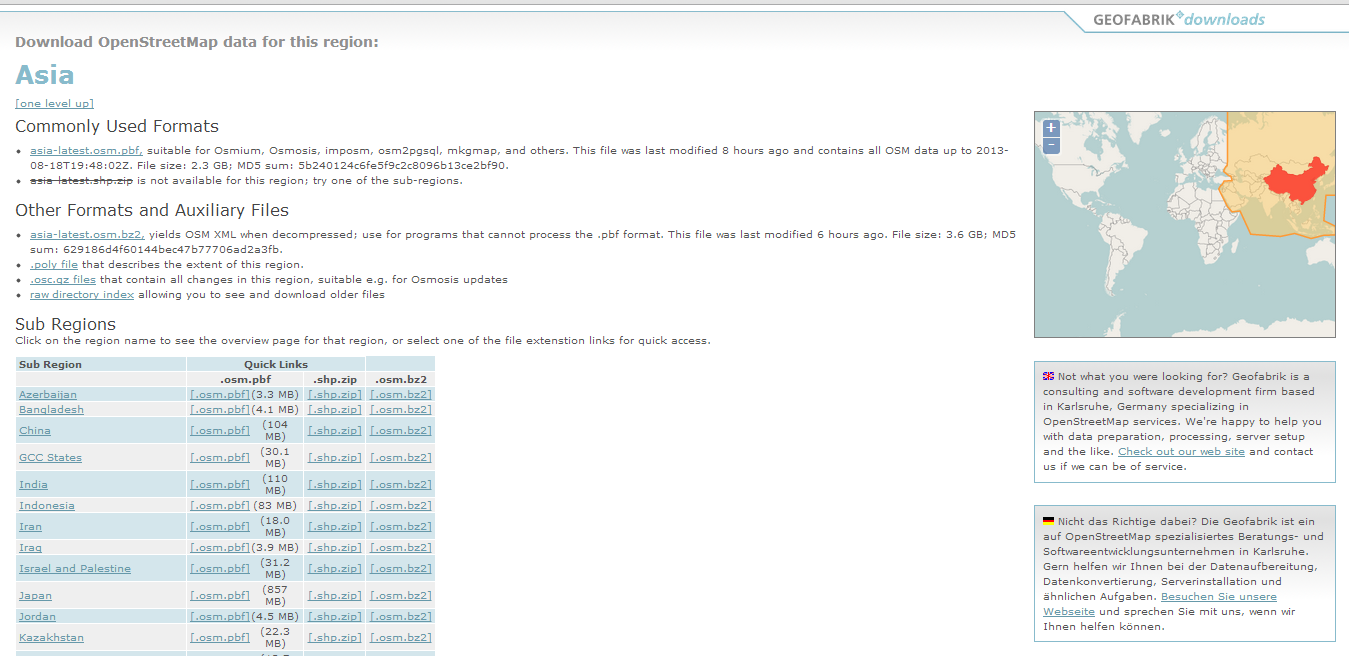
The data is divided into several regions. Indonesia can be found as part of Asia by clicking on the Asia sub-region on the blue table, and then the page will appear like this.
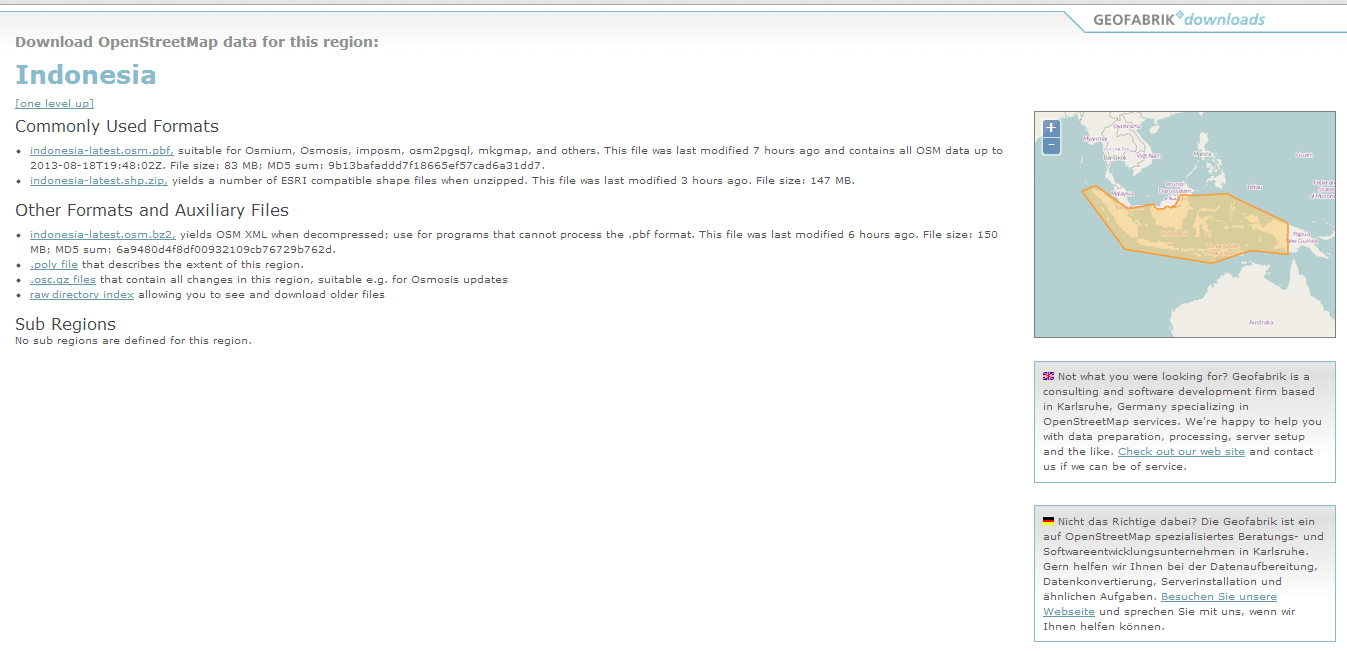
After appearing at the top of the page, see how the sub-region divides into countries of Asia. To get the data, you need to click the Indonesian state on the blue table, and it will appear like this.
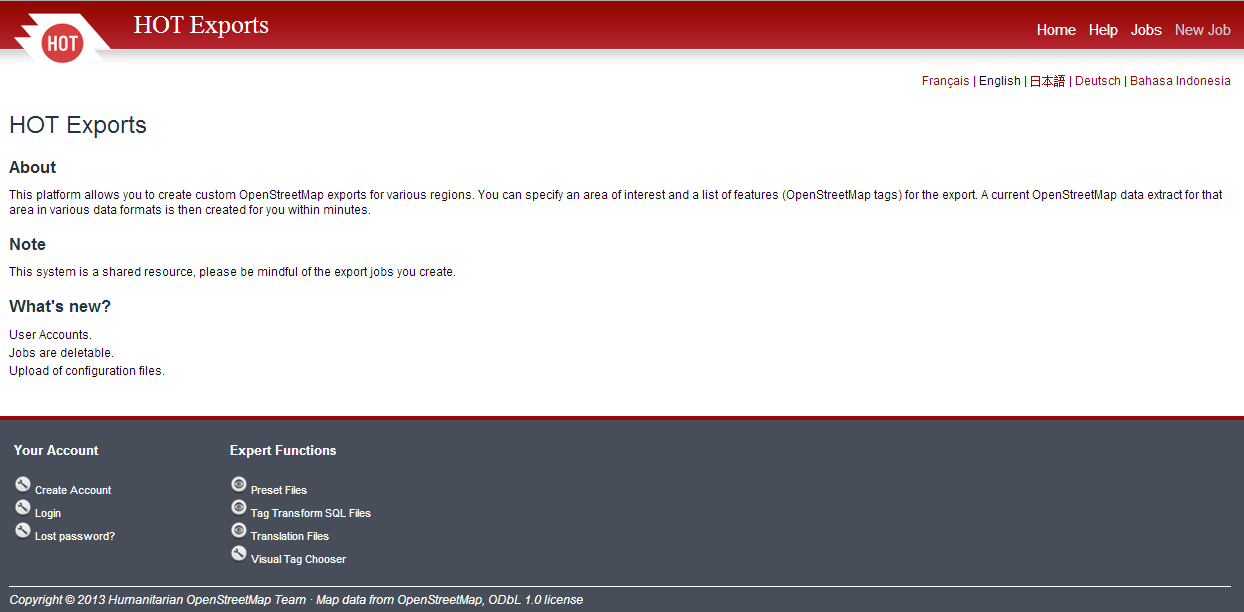
Then if you want to obtain the Indonesian data in shapefile (.shp) format, you click on the indonesia-latest.shp.zip link, and the file will be downloaded. There are several formats that can be downloaded. One popular format is shapefile (shp) with points, polyline, and polygon layer. You can check the last time data was updated. Please note, the server usually updates the data once every 24 hours, so if you just upload data to OSM, the data does not appear automatically when you download it, but you have to wait for the latest updates from the server. Getting OSM Data on HOT-Export WebsiteIf you just want to download a very specific area with a particular attribute, you can use the Hot-Exports data download service. Open http://export.hotosm.org/ which will appear like this:
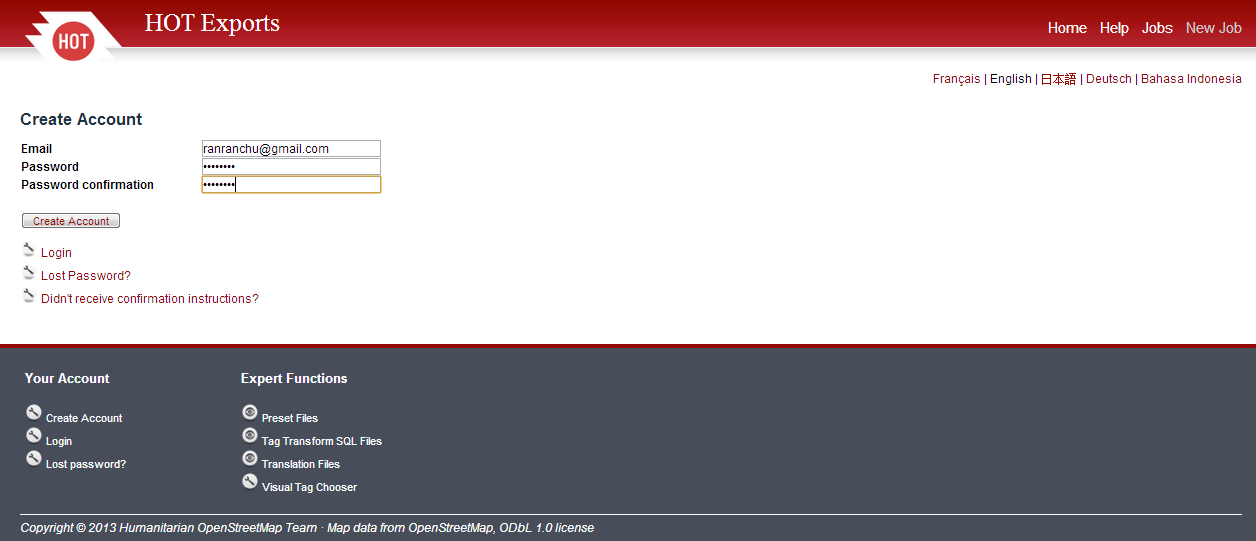
To obtain the data from this website you must have an account. To create one click Create Account in the bottom left corner, then enter your email, password, and confirmation password, followed by Create Account. You will then see a message similar to “A message with a confirmation link has been sent to your email address. Please open the link to activate your account.” indicating that your account has been successfully created and you have your activation email.
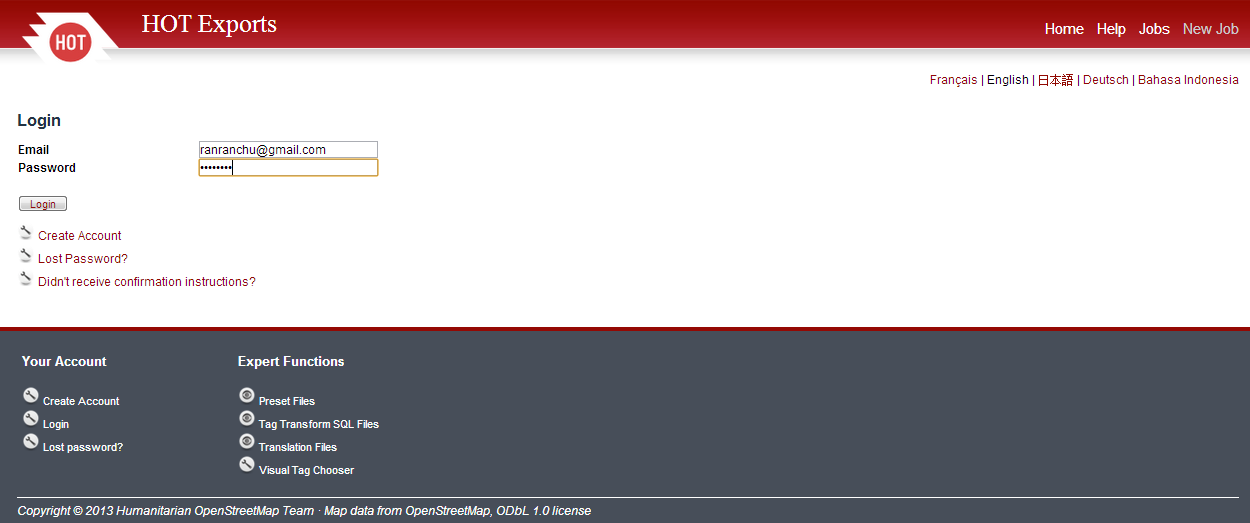
After that log in using your account that you have created.
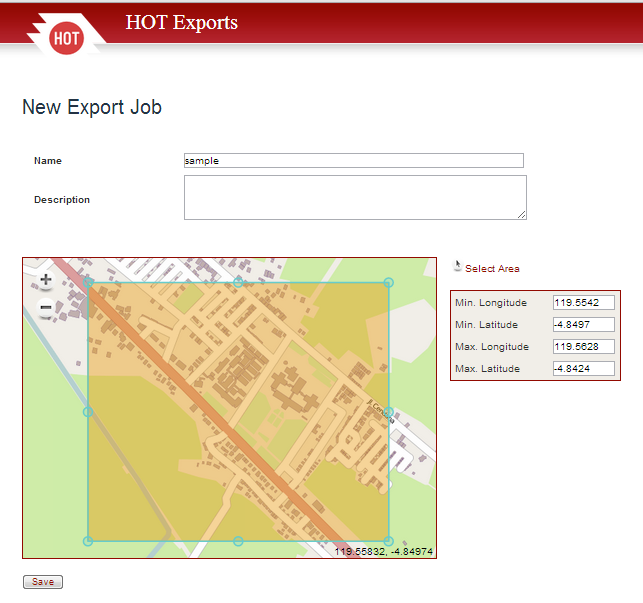
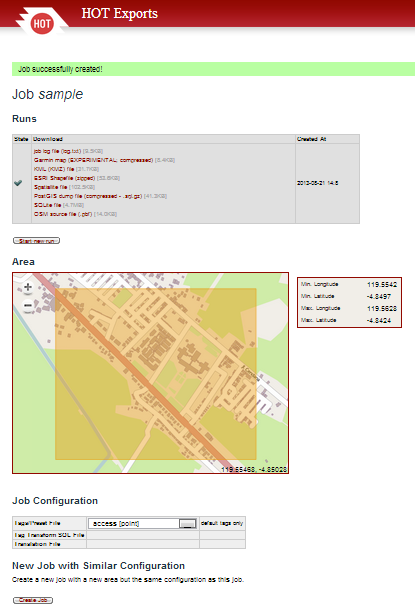
Once you have successfully logged in, to obtain the data you want click New Job, then fill in your name and the job description. You can select an area using the map, then click save.
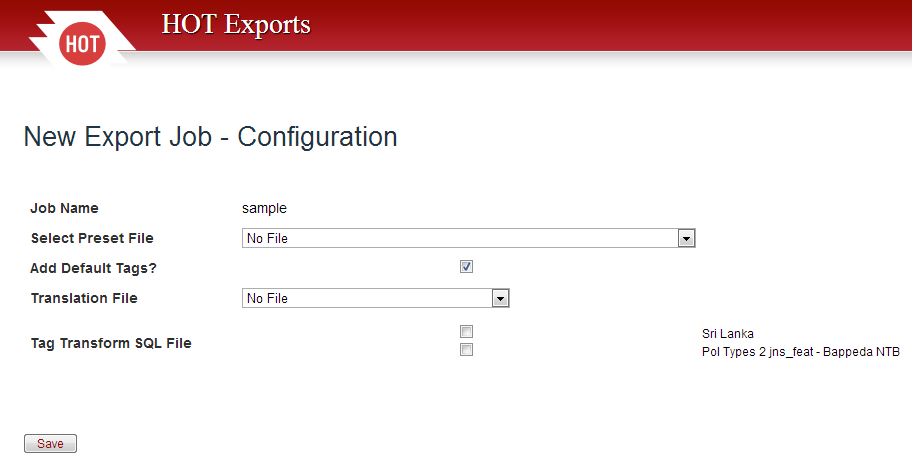
If you wish ou can select a Preset File, a translation file, or ignore both options.
The server will process your request, with the time depending on the area you choose and the server capacity. You can choose the file format you want to download such as ESRI Shapefile. All download requests that you create will appear on the job, so if any time you want to download the same area, you can search for the same job and download it again without having to click on New Job.
Hasznos volt-e ez a fejezet?
Írd meg az észrevételeid, és segíts, hogy tovább javíthassuk az útmutatókat!
|

 Vissza az oldal tetejére