|
|
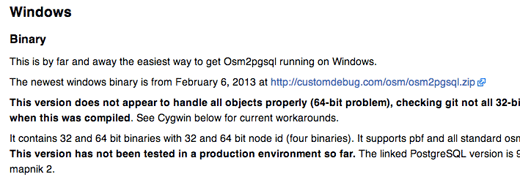
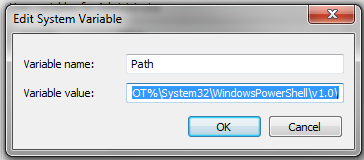
osm2pgsqlIn the previous chapter we saw how to set up Postgresql with PostGIS in Windows and how to set up a database and load it with shapefile data. In order to get OpenStreetMap data into a database, you could get the data in shapefile format and use the shapefile loader, but this may leave you without all the data that you want. In this chapter we will learn how to use osm2pgsql, a command-line program for loading raw OSM data into a PostGIS database. We will go through the steps to set up osm2pgsql on Windows, though the steps should be roughly the same on another operating system, assuming you have set up your PostGIS database(s) correctly. 取得 osm2pgsql要下載適用於 Windows 系統的 osm2pgsql,請打開瀏覽器並移至 http://wiki.openstreetmap.org/wiki/Osm2pgsql#Windows。
C:\osm2pgsql\Win32
osm2pgsql
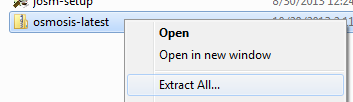
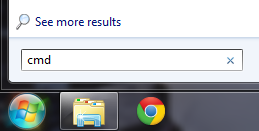
取得原始 OSM 資料Before we can run osm2pgsql we need to have some raw OSM data to import into a database. If you don’t already have a .osm file that you can use, try downloading a file from https://mapzen.com/data/metro-extracts/. This site hosts many OSM extracts for different cities. Find a city to import and download the PBF file for it. PBF files are compressed versions of the normal .osm files. You can use any of the extract services listed in the chapter on getting data, if you’d like the raw data for another area. Get the Style Fileosm2pgsql requires the use of a custom style file to define which tags are included in the database during import. You can download the default style file here. 匯入資料Open PgAdmin III and create a new database named osm, just as you did in the previous chapter. To import the data, we will run the osm2pgsql program via the command line.
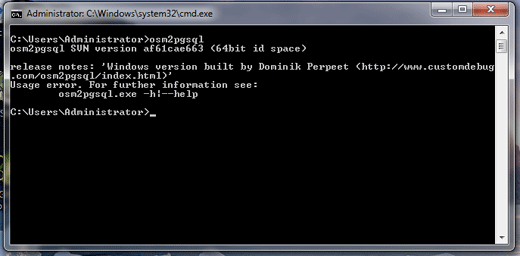
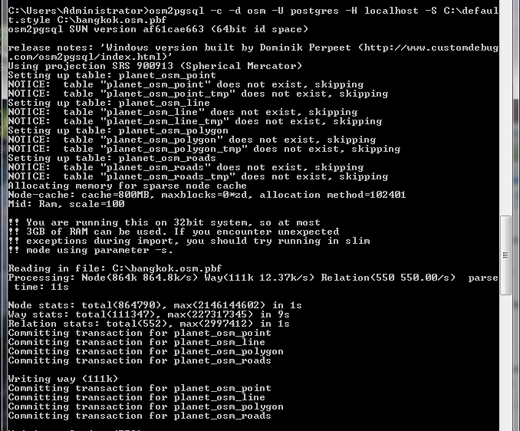
Here we will run the application osm2pgsql with several options. We need at least to supply it with:
We have placed our OSM file into the C:\ directory to make this easier.
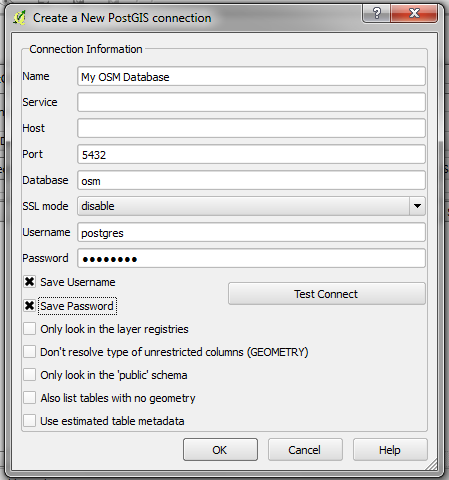
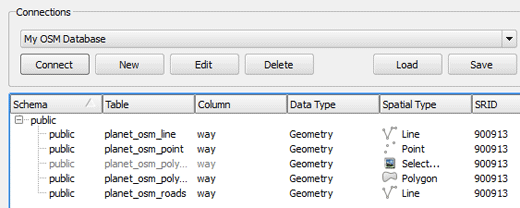
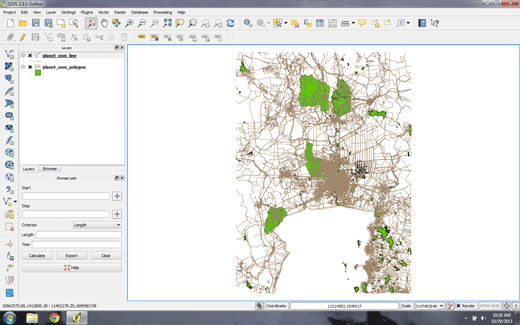
Testing ItWe can test that the import was successful and view the data in our database using QGIS.
總結When you want to import OpenStreetMap data into your own database, osm2pgsql is a great tool. It can be extremely useful when you need to be able to get the most up-to-date OSM data and customize the attributes you want, or when working on more complex projects. Another import tool has been developed recently, called imposm, and offers some speed and other improvements over osm2pgsql, although as of this writing it lacks other key functions which are promised in imposom version 3. 請到 OSM Wiki - http://wiki.openstreetmap.org/wiki/Osm2pgsql 閱讀更多有關 osm2pgsql 的資訊。
這個章節有用嗎?
讓我們了解以便我們改進這個指南!
|