- Other guides
- Panduan bagi pemula
- JOSM - Editing Lebih Detil
- Memulai JOSM
- Proses Mengedit dengan JOSM
- Mengedit Data Lapangan
- Alat Editing JOSM
- Plugin JOSM
- Tool JOSM Lainnya
- Preset JOSM
- Membuat Kustom Presets
- Relasi JOSM
- Tips Editing
- Citra Udara
- Menambahkan tms, wms atau citra wmts di JOSM
- Pergeseran Citra Satelit
- Penyelesaian Konflik di JOSM
- Koordinasi
- Mapping with a SmartPhone, GPS or Paper
- Data OSM
- HOT Tips - Memulai untuk pembuat peta pemula - iD editor
|
|
Alat Editing JOSM
Dalam panduan memulai JOSM kami mencakup dasar-dasar menggambar di JOSM, namun terdapat banyak sekali alat dan teknik yang tidak didemonstrasikan. Disini kita akan melihat beberapa alat dan teknik dasar yang bisa digunakan untuk menggambar peta di JOSM, dan di bab-bab selanjutnya kita akan melihat lebih dalam pada alat menggambar tingkat lanjut. Ambil File Contoh
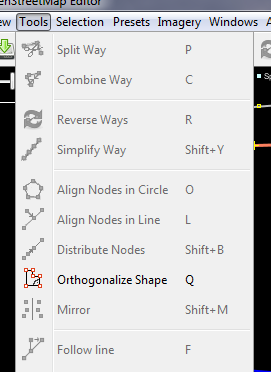
Alat MenggambarJika Anda mengklik pada menu “Tools” di bagian atas JOSM, Anda akan melihat banyak sekali fungsi yang dapat membantu Anda menggambar garis dan bentuk lainnya, dan juga mengedit objek lain di peta. JOSM memiliki beberapa alat tambahan yang dapat memudahkandalam menggambar garis dan bentuk. Alat-alat ini bisa ditemukan di menu “Tools” di bagian atas JOSM.
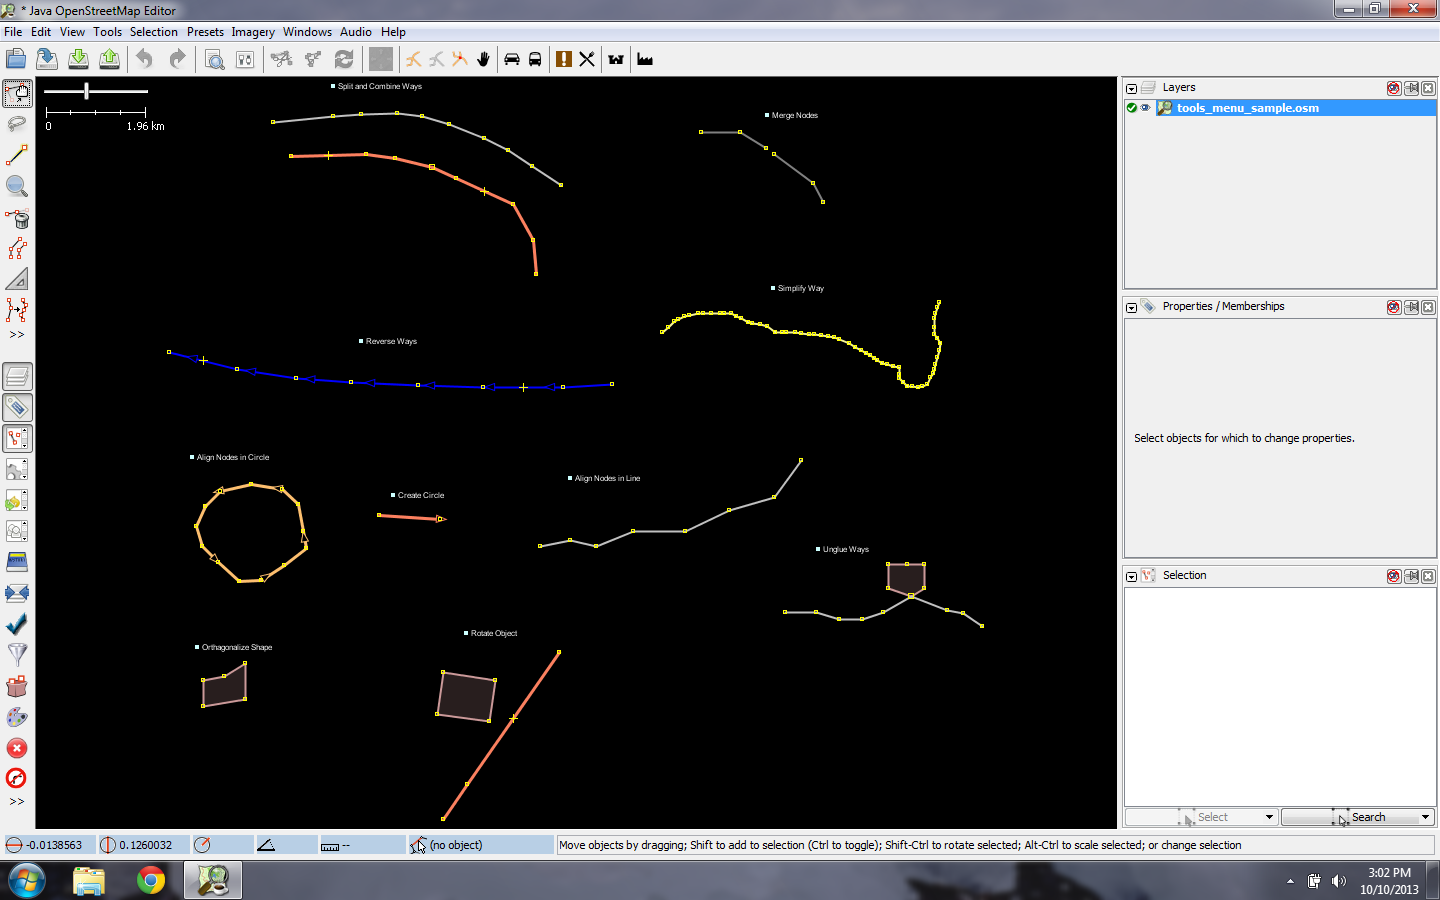
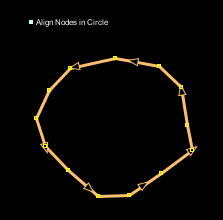
Untuk menerapkan fungsi dalam menu ini, terlebih dahulu Anda harus memilih titik, garis, atau poligon di jendela peta. File contoh berisi banyak elemen yang diberi nama berbeda berdasrakan alat-alat yang ada di menu. Membuat titik menjadi lingkaran
Cobalah masing-masing alat menggunakan file latihan ini. Deskripsi dari beberapa alat telah disediakan di bawah. Memisahkan GarisFitur ini memungkinkan Anda untuk membagi sebuah garis menjadi dua garis berbeda. Hal ini berguna jika Anda ingin menambahkan atribut yang berbeda pada segmen jalan yang berbeda, seperti jembatan, Untuk menggunakan fungsi ini, pilih titik pada bagian tengah garis yang ingin Anda pisah, kemudian pilih Split Way dari menu Tools, dan garis tersebut seharusnya akan terpisah menjadi dua. Menggabungkan GarisHal ini merupakan kebalikan dari Memisahkan Garis atau Split Way. Untuk menggunakan fungsi ini, pilih kedua garis yang ingin Anda gabung. Anda dapat memilih lebih dari satu objek dengan menekan tombol SHIFT pada keyboard Anda dan klik di masing-masing garis. Ketika Anda telah memilih kedua garis, pilih Combine Way dari menu Tools.
Memutar balikan dan MenggabungkanIf you are combining roads that have different directions, you might get this warning:
If the roads are connected and go in the same direction, then choose “Reverse and Continue.” Reverse WayThis will change the direction of the line. All lines in OSM have a direction, which is shown in JOSM by the arrows on the line. Direction doesn’t usually matter, except in the case of one way roads and rivers that flow in a certain direction. In these cases you may need to reverse the way so that it goes in the correct direction.
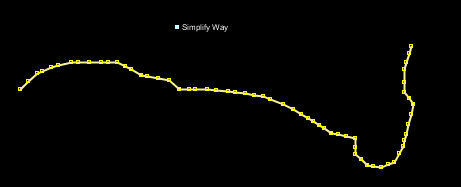
Simplify WayIf your line has too many points in it and you’d like to make it simpler, this will remove some of the points from a line.
Create a CircleUse this tool, which will create a more perfect circle. Draw a line which represents the diameter of your circle, and then apply this tool.
Align Nodes in LineThis function will align a series of points into a straight line. With long lines it is best to select sections of the line to straighten. Be careful as this does have the tendency to shift the line a little bit.
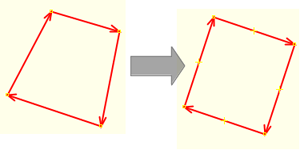
Orthogonalize ShapeThis function is very useful for drawing regular shapes such as buildings (But see also JOSM building tools). After you draw an area, this function will reshape it to have square corners.
Unglue wayThis tool allows you to detach nodes that are connected. It is useful when two object share a node when they should not. For example, a common mistake is for a road to share a node with the corner of a building. Of course roads don’t run into buildings usually, so this is a mistake, and you can unglue the objects from one another.
The line and node will not actually appear separate until you move them. Keyboard ShortcutsOnce you start editing a lot you will realize that you waste a lot of time clicking on menus and submenus. To overcome this, JOSM has keyboard shortcuts for just about everything. This means that instead of clicking an object and then going through a lengthy menu process, you can simply select the object and press a key on your keyboard. All of the tools mentioned in the previous section have shortcut keys, which are listed on the Tools menu to the right of each tool name. For example, “O” is the shortcut key to align nodes in a circle. “L” is the shortcut to align them in a line. It can take some time to learn the shortcut keys, but you will find that it saves a lot of time in the long run. Here are other shortcut keys (in bold) which are some of the most important.
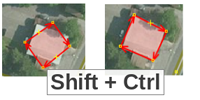
Scale and RotateA common question is how to rotate a line or shape after it has been drawn. To rotate an object, first select it. Hold SHIFT+CTRL on your keyboard. Click and drag the mouse to rotate.
To scale an object (make it bigger or smaller), follow the same process, but hold ALT+CTRL instead. These instructions are displayed on the information bar at the bottom of JOSM:
Apakah bab ini bermanfaat?
Beri tahu kami, dan bantu kami memperbaiki panduan OSM!
|







 Kembali ke bagian atas halaman